
So with most of the terrain printed or sourced, I ventured down to my local DIY store and purchased myself three 1200mm x 600m sheets of 9mm plywood (that's 4ft by 2ft in old money). The rationale was that they would be easier to transport and store than a single 6ft by 4ft board). It also allowed for some modularity if required.
I also purchased a 8' x 4' sheet of 2" polystyrene so that I could build the levels of the board in a lightweight way. My thinking was that a 2" level change best replicated what was required for 25/28mm figures.
My next step was to set everything up on a table and see how it looked.
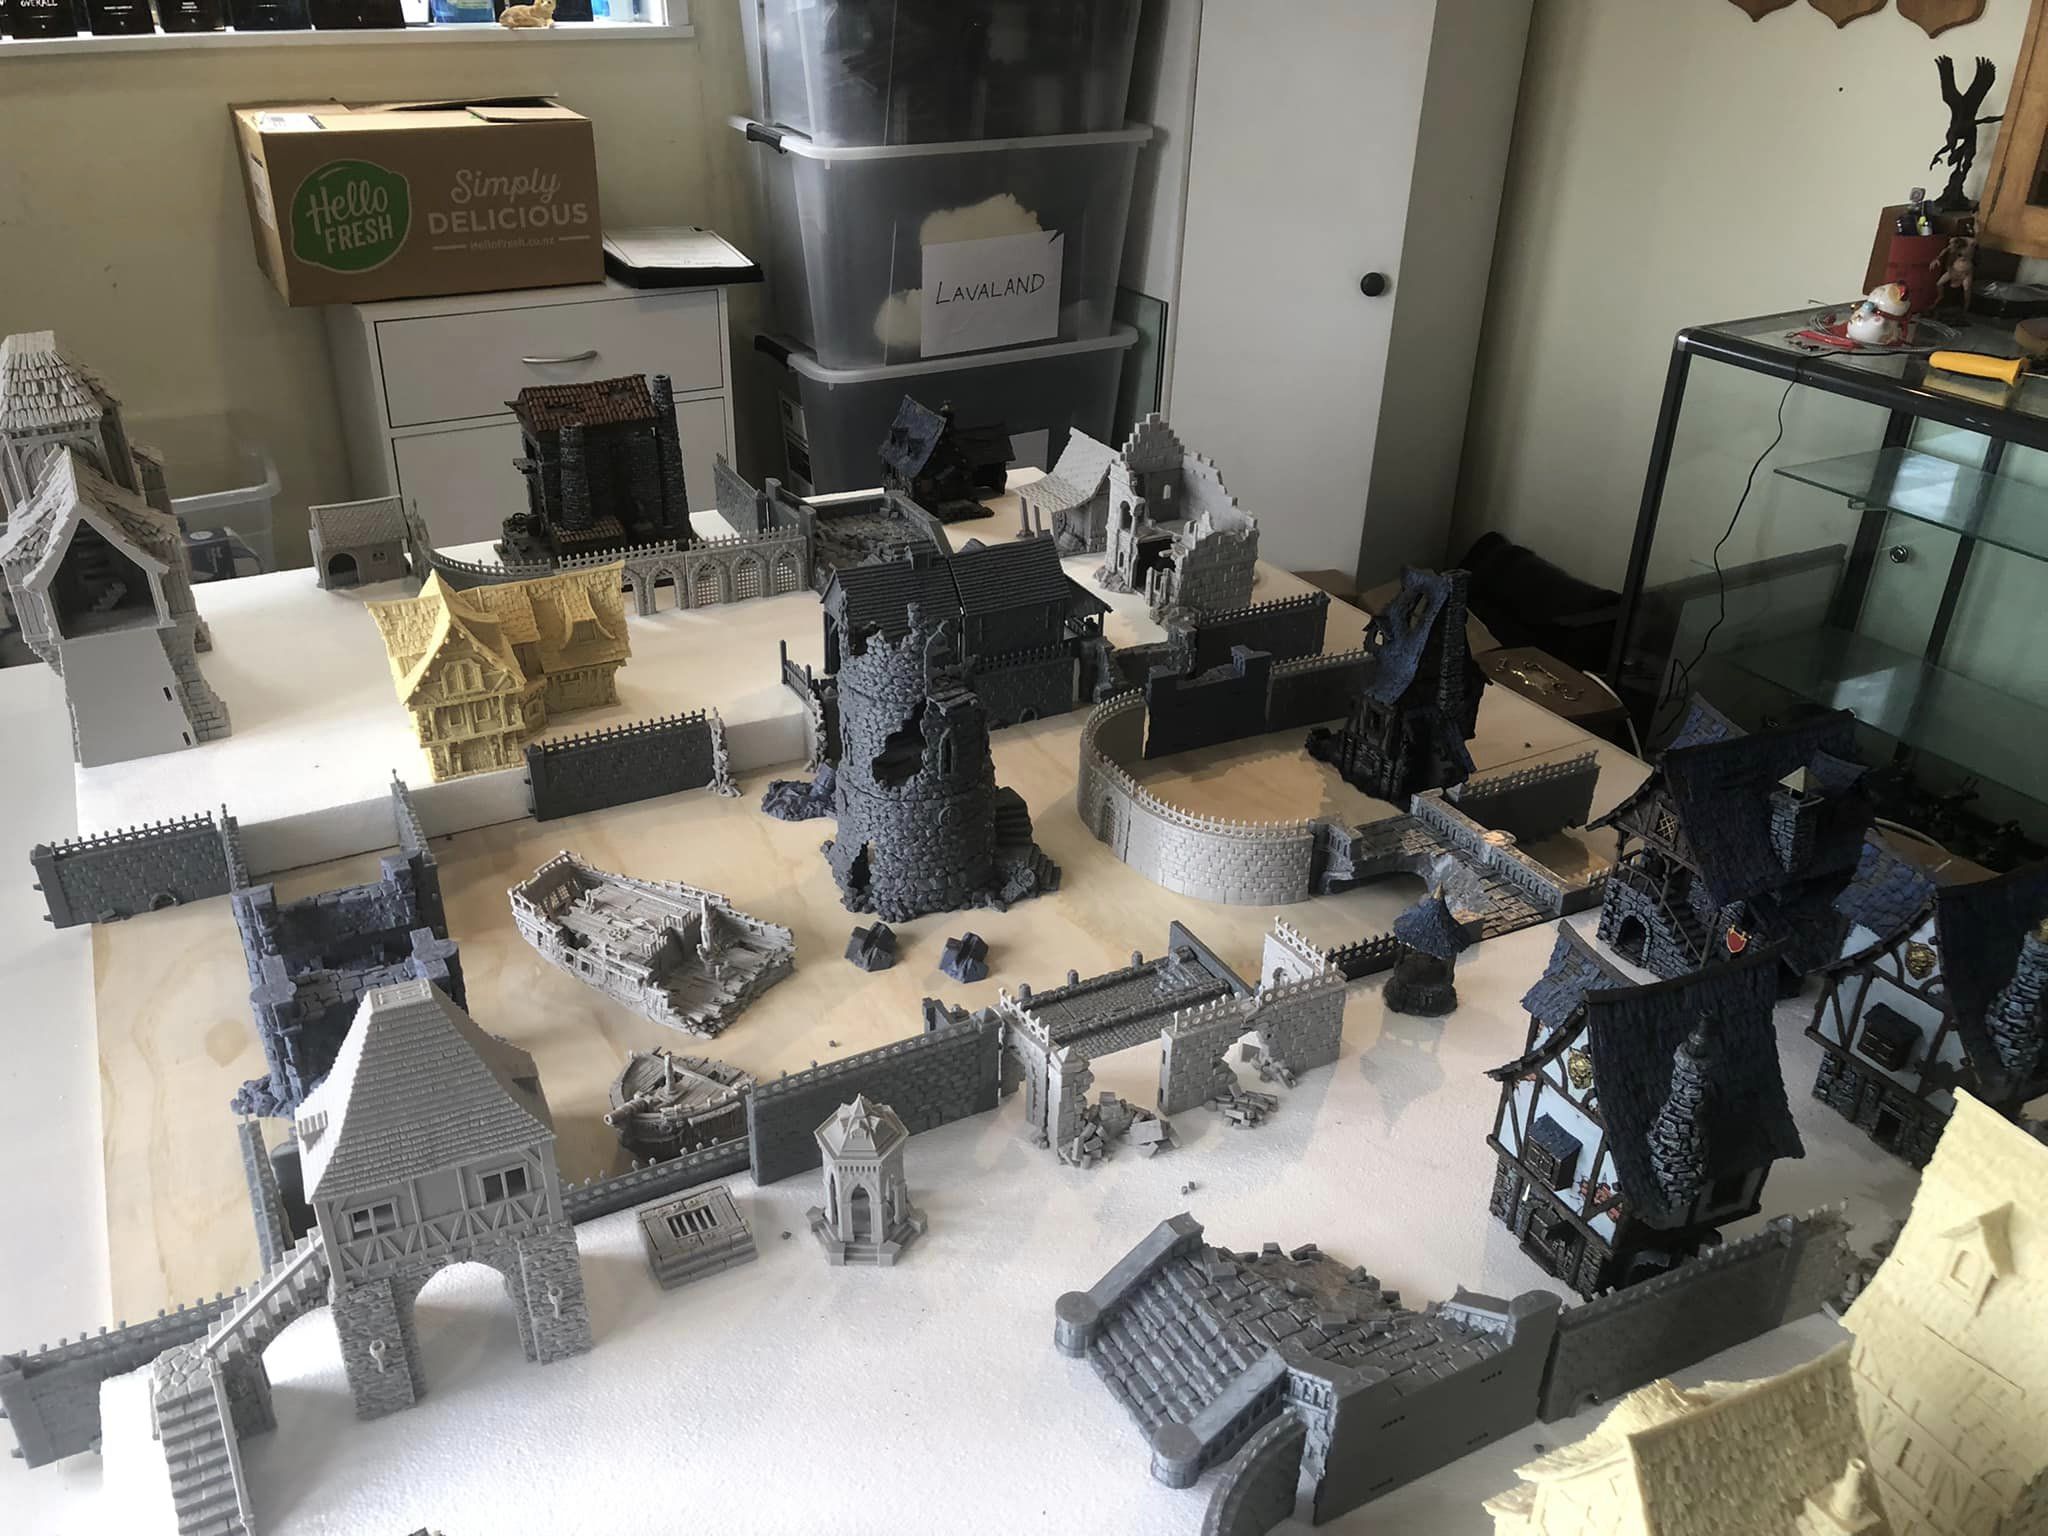
I got out my store of printed and purchased (mostly Tabletop World) buildings and set them out in an approximation of what I wanted to achieve.

This let me determine where I would have open spaces and where I would require levels. It also provided me with an idea of whether I had printed enough walls and roads.

Roads, you say? It was at this point I realised the 20 feet of roads I had printed were too narrow for my requirements. Or at best, I needed a mix of widths. Back to the print farm for some upscaled roads 😊

Once I was happy with the general layout I started the building process. The 50mm sheets of polystyrene were glued with PVA to the plywood base. I then used a jigsaw to cut the upper levels and they were again glued with PVA. This gave me a base against which to glue the printed wall sections, steps etc.

Following on from this - and not yet in the photos - any exposed polystyrene edge was coved in 50mm black fabric duct tape. Thinking here was that providing protection to the polystyrene would increase its longevity.

The next stage from here is to lay the cobbles. This will be covered in the next post.
No comments:
Post a Comment